Saturday, November 16, 2013

Enter the mammoth himself, Mr Stompy. The skorne gargantuan

Well, here we go again. the model of the week is the skorne gargantuan mammoth, also know as Mr stompy in my circle of friends. the lesson that I re-learned with this model is remember where all your smaller bits are before you start priming and painting. this project took me the better part of a week to finish and it looks amazing. all that is left is fixing all of the whoopsies and clear coating him

 From box to birth, this model is huge. the base alone is the size of a CD and the model stands half a foot tall
 Here is a view of the box standing inside my airbrushing enclosure. as you can see by looking at the brush sitting next to it, it is a fairly large box
 Here is the box that is inside the main box, I know a box inside a box. here is the main body and arms/legs
 here is the full kit inside its plastic containers. the box on the right contains all of the tassels and frills that you can put on the model. there are a ton of them and they can be a pain in the butt to glue on.
 Here is the main body laid out for assembly. the cannon pieces ended up assemble before this picture was snapped.
 here is the mid point on the painting the paint list will be included. as usual I used a full array of metallic paints and it looks wonderful
 Over the next few pictures you will see the different details that slowly come out
 Rear view of the mode, some details weren t picked up by the camera there are 11 "gemstones" down each side painted in metallic purple
 the chains are painted in sterling silver and the copper detail is in antique copper
 the boney details such as horns and nails are painted in territorial beige. the thing i dont like about the apple barrel paints and many of the craft grade paints I use is they take several coat to full coat the area. onthe flip side once you get then built up enogh(thins coats at a time) they look very good
 The areas that look like chain mail are painted in gunmetal grey and then were washed back a bit with Nuln Oil
 The base isnt finished yet (JB weld two part clay epoxy) the bits sticking out are parts from damaged models and spare bits Ive collected over time. the idea for the base is Mr stompy doesn't care and is too big to care. he'll run over his own people as much as the enemy
 heres another view to make sure everything is up to date
 back view
Here  is the full array of paint used on this model;

Folk art antique copper
Folk art gunmetal grey
Folk art sterling silver(very little)
Folk art pearl white(very little)
Folk art sequin black
Folk art metallic plum
Apple barrel territorial beige
P3 Iron hull grey
P3 Blighted gold
Citadel Nuln Oil (wash)

Tuesday, November 5, 2013

Plague drones come to life and rot

Here goes the first nurgle, A new challenge for me as most of my models were comprised of armor and daemon flesh. the subtle arts of rot have proven challenging as I have never tried it.


 This is the lovely package that all Wahammer 40k models come in. if you have never assembled a model there are quite a few pieces in each sprue


This is the layout of one of the sprues. the model itself is made up of two main parts the Drone and the rider. so far I have assembled the drone fully and will finish the paint and install magnets for the riders as well as paint the riders


 This is the basic layout of the drone itself. fairly simple to assemble compared to some of the models I have put together in the past. the use of an exacto knife to put small scores in parts that wont bond well and high quality glue will save you some heart ache in the long run. the other option is to install small metal rods to add rigidity on the difficult parts such as the wings and the arms


 This is the fully assembled model on its base.  the next steps will be priming and painting. Krylon primer is the weapon of choice for my priming. cheap and effective overall


 Here is the full group fully assembled. It was a fun project and I didn't glue too many pieces to myself in the undertaking


 Here is the basecoat of territorial beige, an apple barrel paint. it was applied with a badger patriot 105 airbrush at 15 psi. the paint was diluted 50/50 with windex. It took two coats to fully base coat.


Here is the group fully base coated. it was a fairly quick project over all taking a couple hours from assembling up through base coating. Now the real fun begins, making them rot


 Here is the initial details, I applied a coat of mephiston red into the sores then accented it with necrotic green. the pustials throughout the body were brightened up with pink and necrotic green


 the carapice was painted in the ever present sequin black metallic and the rest of the body was washed in secret weapon flesh was to give it more depth.


Here is a side view of the rot and the washed flesh. the sore were given a coat of nulin oil to darken them. there was a light washing of red and blue to added a bit more depth.


This was a fun experience overall,  the rot on these models proved to be a challenge. on the next installment of the plague drones I will install the magnets for the riders and show the steps taken in painting the riders and a bit of finishing on a few more models.

Sunday, November 3, 2013

skull cannon is nearing finished

Its nearly done, just have to clean up the whoopsies and pick out the last of the details


It is a great looking piece, when its finished for good and clear coated I'll post some well taken photos of it

That's all for today, tune in next time or better yet subscribe so you can see the ever growing accumulation of projects. soon there should be some warmachine and hordes for your viewing pleasures.

when in doubt, break out hte debonder and use it to free yourself.
Andy

Retrograde to the back log

Hello again loyal readers, Today I'm stepping back to some of my long finished models. I haven't had the time recently to paint models, with my job and my wife it takes careful balancing to ensure that there is truly a balance at all.

The first model up for this post, the Daemon price. one of my first models ever to feel the caress of my brush

 Again my love for blighted gold is evident here, there isn't a point in painting without a bit of sparkle

 The next is the bloodthirster again painted in the usual colors for my Khorne daemons

 The next model is the Fiends of Slaanesh, a more recent piece

 the Blue is an airbrushed gloss blue. the details are in arcane blue, mephiston red and pin horror a mixture of privateer paints and Games workshop, in addition to the territorial beige as is common to my painting


The concludes the post for today, as always I encourage you to check back often and leave questions and comments in the appropriate section of the page.


Keep your brushes clean and the paint flowing
Andy

Saturday, November 2, 2013

The side-track that is my life


Well loyal readers, I have been sidetracked for a few days, but don't despair as I have a few post worthy bits of content yet to be put up.


Today's post will cover the  finished Exalted flamer.


The Base coat is Folk Art Sapphire, Another metallic paint
The flames have a Dry brush of another folk art metallic paint, Some purple variant I cant remember

The horn details are in the apple barrel territorial beige and the eyes are in Mephiston red

The blades are painted in leadbelcher silver and the scrolling around the disk is blighted gold


That concludes today's post, It was short and simple but definitely covered the detail  of this piece and provided  ideas of what different types of paint will look like on a model. 

Thank you for tuning in for this short display and hopefully I can provide more content to help you to become Inspired for you own paint undertakings.

Thursday, October 31, 2013

paint and plastic, the love affair

So my fine readers, I have put off pulling out the finished pieces, but do not despair as you will be shown what is in my opinion the fine works I have to offer you.


For todays piece, I present a Modified version of a Khorne skull cannon.

The primer is Krylon and the color is grey.
The Base coat is Folk art Sequin Black, which is a Metallic paint.

The front view of the piece

The details were done in a Privateer Press Blighted gold

 The horn details were painted with territorial beige from Apple Barrel

 A side view of the project
 Front View at a different angle

Another side view the piston on the rear were painted with gun metal grey from Folk art

And the final view for this post, you can see a few more of the details surfacing

The next installment of this blog will be a continuation of the skull cannon project and perhaps hitting on another project such as the exalted chariot variation or an appearance of my recently finished fiends of slaanesh. 

To better keep track of ongoing projects and for ease of viewing, Please subscribe to my blog and I can continually provide constant updates on the various project I have in store. Thank you for tuning in to view what I have for now and continue your patronage to my little blog.

Until next post, Live Love and paint

Andy

Wednesday, October 30, 2013

And there were models and it was good

I finally got everything gathered back up and unboxed after my recent deployment. what this means is I can begin posting pictures of my excessive amounts of semi painted models. but first I will give you the full view of the breadth of the project I am going to be undertaking.

 The first picture is mostly my daemon army for Warhammer 40k

A few odds and ends that aren't unboxed yet
 
 My wife's Eldar

A few more I ran across while reorganizing

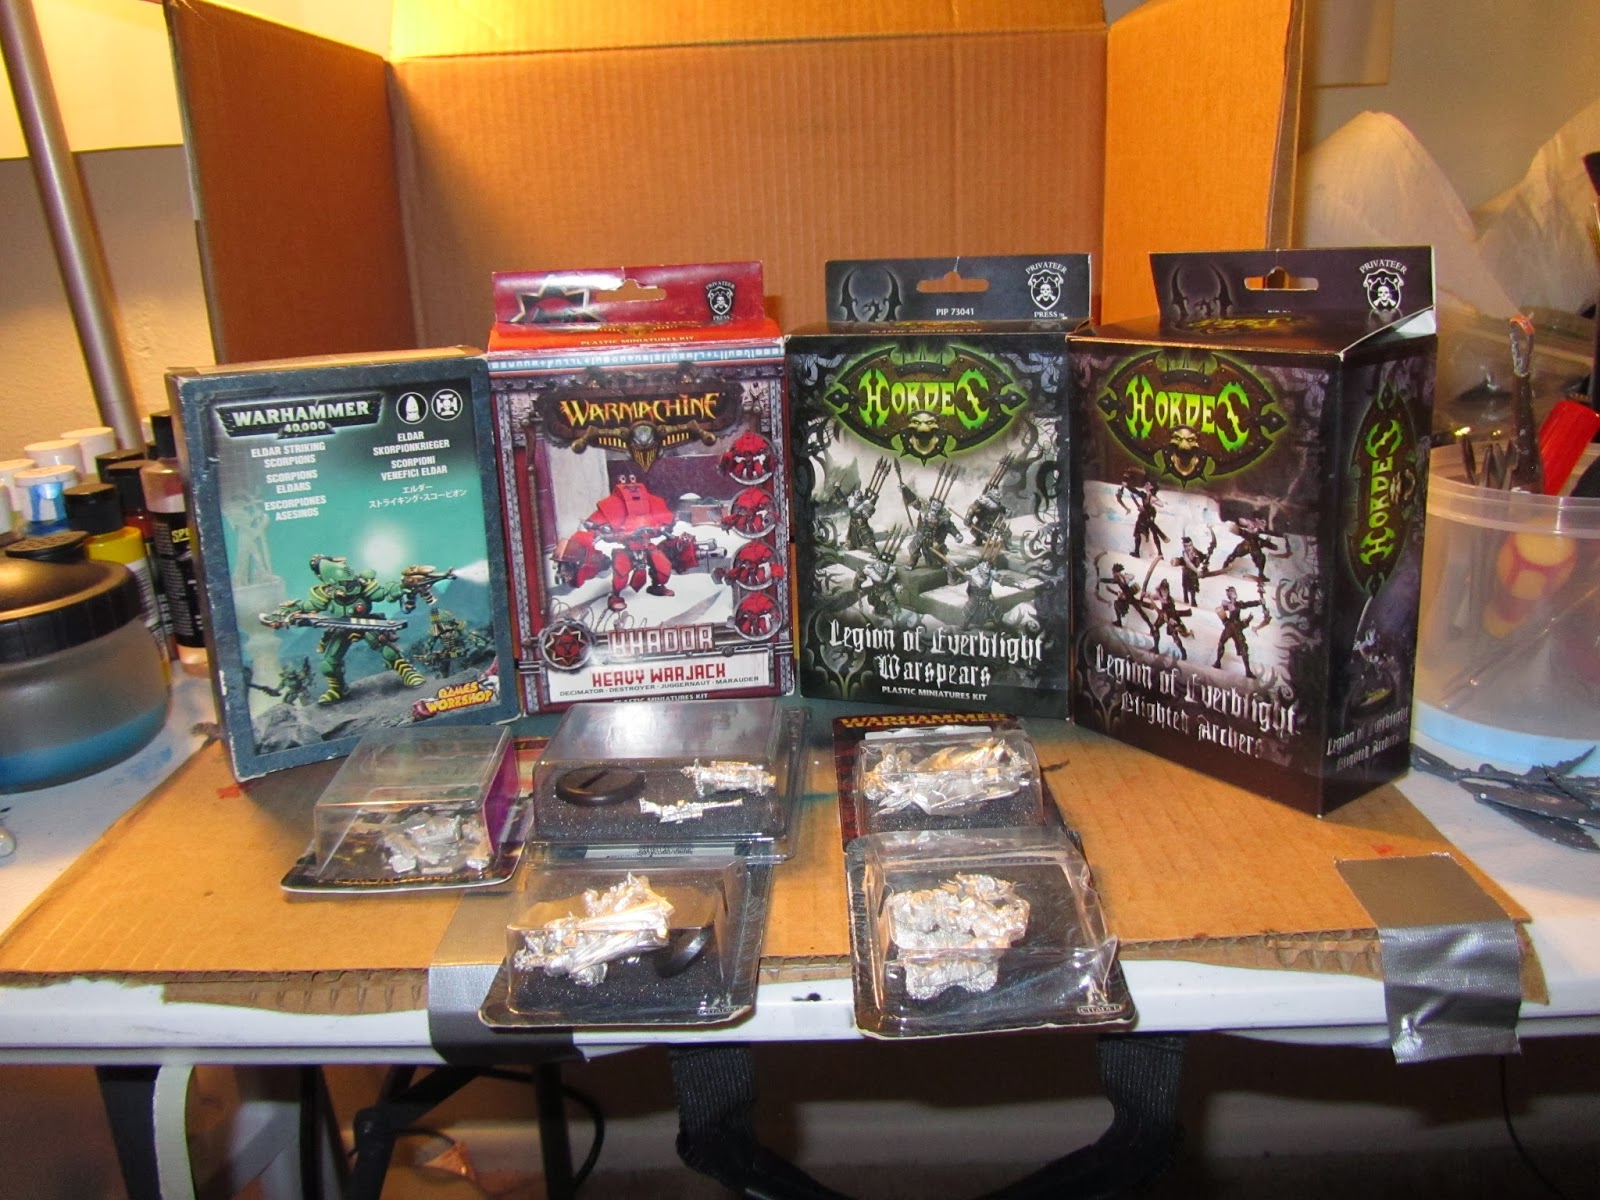
Some of my extra Skorne that haven't been finished

The next post I will dig out some of my Finished pieces and get then photographed for your viewing pleasure and begin documenting the steps in a few of my partially painted models.

Stay tuned for more laughing, crying, and accidentally gluing multiple objects to yourself